
Serving Jeddah & Makkah
Tank Guide10 min readJeddah

Water Tank Cleaning Step by Step in Jeddah: What to Expect on the Day

Knowing the sequence makes you a partner in quality control: you know what should happen and when, and you can tell if an important stage is being skipped.

Many people never see what happens behind the tank lid, so they accept a shortened service without realizing it. Proper cleaning is a sequence that starts with inspection and ends with a check, and every step has a purpose. This guide explains the usual order, roughly how each stage goes, and what you can observe to confirm the work is on track.

If you want the service itself, our water tank cleaning in Jeddah page explains how to book.

Water tank cleaning in Jeddah

Quick Summary

  • Work starts with inspection, then draining, then sediment removal.
  • Disinfection and rinsing are separate steps and should not be merged.
  • A final check and first-flow test close the job.
  • Duration varies with size and condition.
Quick reference

The usual work sequence

The stages in order and what happens in each.

StageWhat happensWhat you noticeYour question to the crew
InspectionTank, lid and fittings are checkedType and condition identifiedWill you photograph the condition?
Preparation and ventilationWater is shut off and the area securedWater stops, tank isolatedHow do you ensure ventilation?
DrainingRemaining water and loose sediment removedColor of outgoing waterWhere does the water go?
Removal and scrubbingSediment and algae removed from walls and floorClean-looking surfacesWhat tools are used?
DisinfectionA drinking-water-safe product is appliedA defined contact timeWhich product and how long?
Rinse and checkFull rinse, then odor and surface checkClear water, clean surfaceIs the water checked after refilling?
In-depth guide

Seven stages from arrival to handover

Follow each stage to know where the work stands.

Stage 1

Inspection and assessing the tank

The crew usually starts by examining the outside of the tank, the lid, the inlet and outlet pipes and the float, then looks through the opening to estimate sediment, algae, material and workload. That inspection decides the tools, the number of workers and the expected time.

You are entitled to see photos or a description of what the company found before work begins. It documents the starting condition and helps you compare afterwards. If there is visible leakage or damage, note it immediately so it can be handled during or after the service.

Your own preparation helps: clear the path to the tank, make sure the lid opens easily, and show where the water valve is and whether a pump needs to be switched off.

Stage 2

Shutting off water and securing the area

Before draining, incoming water is closed and the pump is stopped so it does not run dry and get damaged. The area around the tank is secured by keeping children and belongings away and marking a warning where needed, especially for roof tanks.

In enclosed spaces the crew pays attention to ventilation and does not let anyone enter before the air is safe. You should store the water you need beforehand, because taps will be dry until the work and refilling are finished.

Agree on a contact number and who stands at the opening during work. These small details prevent confusion.

Stage 3

Draining and removing what remains

The tank is emptied, then the last water and liquid sediment are pumped out. The method depends on location, either by gravity or with a drain pump, and the water must be discharged where it will not flood a walkway or bother neighbors.

Watch the color of the last water coming out; if it is very cloudy it hints at how much sediment there is. If you see foreign objects such as plant remains or insects, ask how they got in so the cause can be fixed.

Draining carelessly without a discharge plan can cause problems with neighbors, so you may ask about the plan before work starts.

Stage 4

Removing sediment and algae by scrubbing

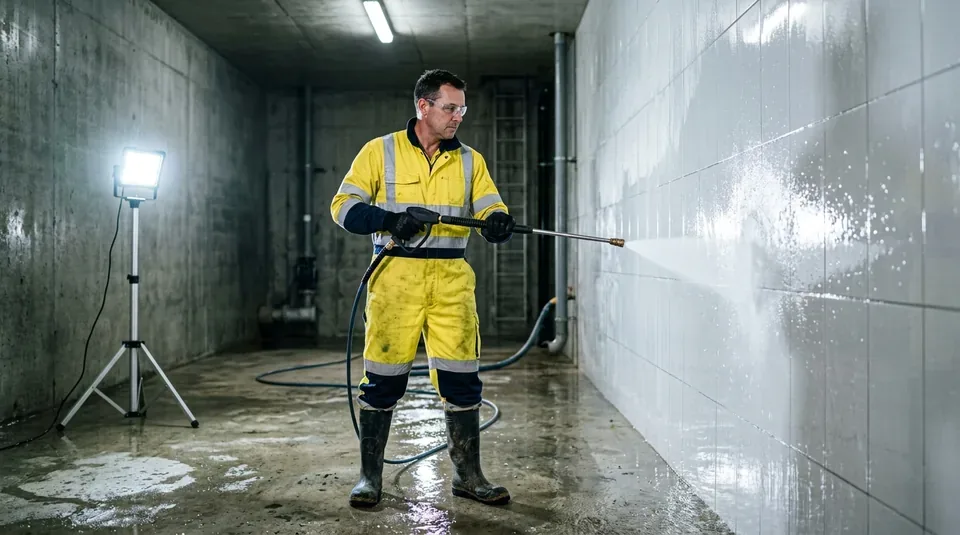
This is the core of the job: sediment is lifted from the floor and walls with brushes suited to the tank material, and the muddy layer is collected and removed from the tank. Corners and joints get extra care because they hold dirt.

Spraying water on the walls is not enough; stuck sediment needs contact scrubbing. A concrete tank takes longer scrubbing while a plastic tank takes soft tools, and the floor is checked after removal for leftover mud.

Ask to see the opening or a photo of the walls after scrubbing and before disinfection. That is the clearest proof the scrubbing really took place.

Stage 5

Disinfection with a drinking-water-safe product

After the dirt is removed, the tank is disinfected with a product approved for drinking water and left for the contact time given in the product instructions. Disinfection does not replace removal, because a disinfectant cannot penetrate a thick sediment layer.

Ask for the product name, concentration and contact time, and do not accept vague answers. Unsuitable products can leave an odor or a trace in the water, and wrong doses either damage the tank or fail to do the job.

Never add household products yourself or mix cleaners, because some mixtures release toxic gases. Leave it to the trained crew.

Stage 6

Full rinse and inspection

The tank is rinsed thoroughly with clean water until all traces of disinfectant and cleaners are gone, then the surface and odor are checked. The rinse should be a stage of its own, not just a quick spray before refilling.

Then fittings, float and lid are reviewed, since cleaning is a good chance to spot damage. If a small part needs replacing, agree on it before restarting so you do not have to reopen the tank days later.

Make sure the lid is closed tightly after the final check and that any mesh or gasket removed during the work is put back.

Stage 7

Refilling and handover

The tank is refilled and water is released gradually, then the first water from the taps is run off until it clears. Either the crew or you should look at the color and smell of that first flow, which is the real moment of verification.

It is good practice for the crew to give a short summary: what they found, what they did, and any repair notes. Record the date in the tank log so you can set the next appointment.

Do not hesitate to ask for a follow-up visit if an odor or unusual color appears in the first days of use, because it is quickly solved when reported early.

Common Questions

Frequently asked questions

Short answers to what tank owners in Jeddah ask most.

How long does tank cleaning take?+

It varies by size, condition and access, from a few hours up to a full day for large or very dirty tanks.

Do I need to be present during the work?+

It is best if you or a representative are there at the start and end to see the condition and accept the service.

Will the water be cut at home?+

Yes, temporarily, so store what you need for drinking and basic use before the visit.

Is disinfection necessary after removal?+

Yes. It is a separate step that reduces remaining microorganisms, but it does not replace removing sediment.

When can I drink from the tap afterwards?+

After running off the first water until it is clear and any odor has gone. If a trace remains, tell the crew before drinking.

Can I take photos during the work?+

Yes, documenting before and after is useful. Just stay safe and do not enter the tank yourself.

What if damage is found during cleaning?+

It is reported immediately, repair or postponement is agreed, and it goes into the service notes.

Want to book a tank cleaning appointment?

Send the tank location, approximate size and a photo if possible, and we will arrange a suitable time.

CallWhatsAppGet Quote